Scope & Objectives :
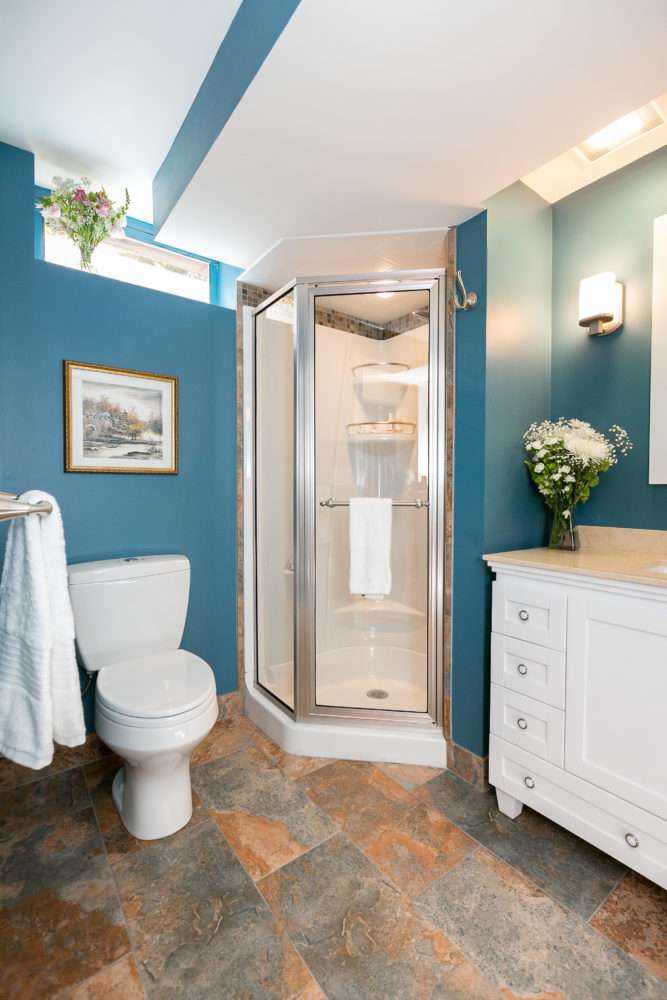
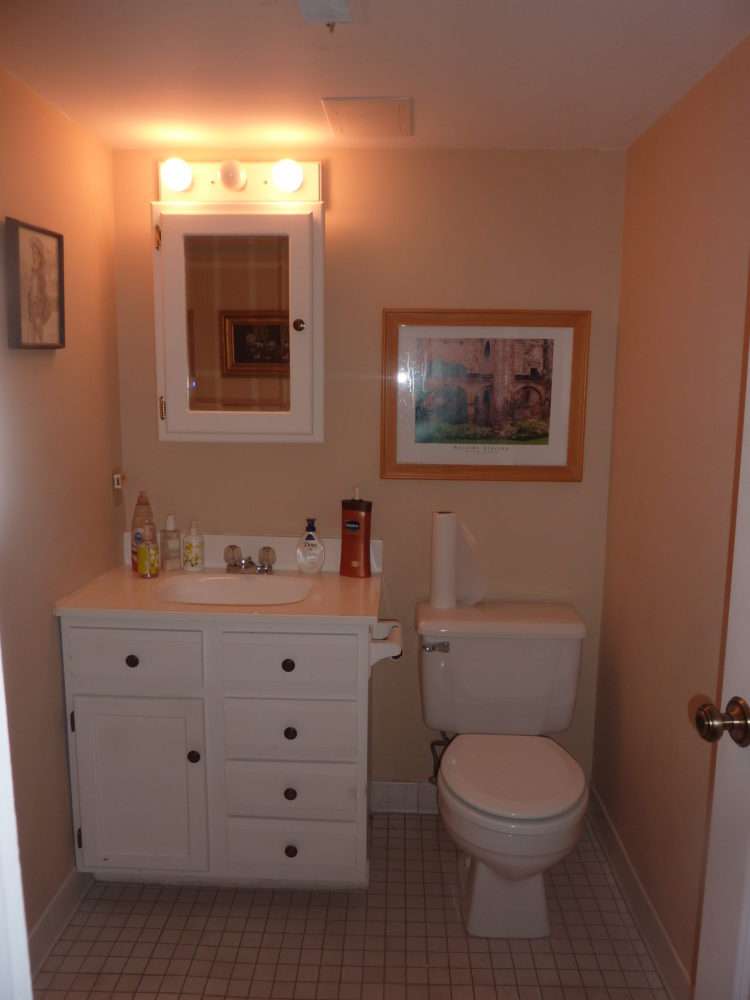
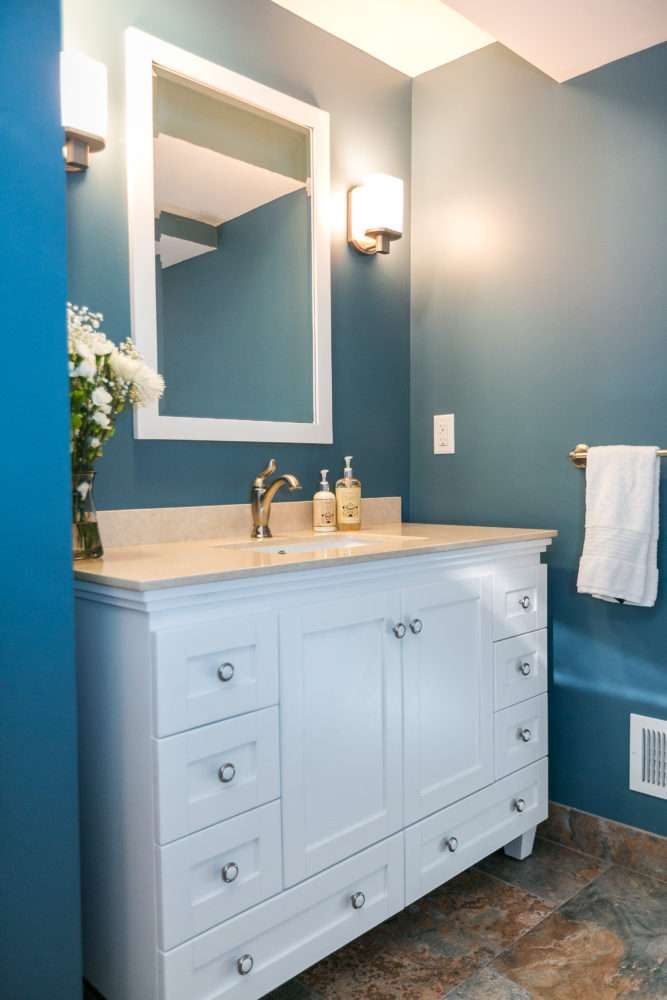
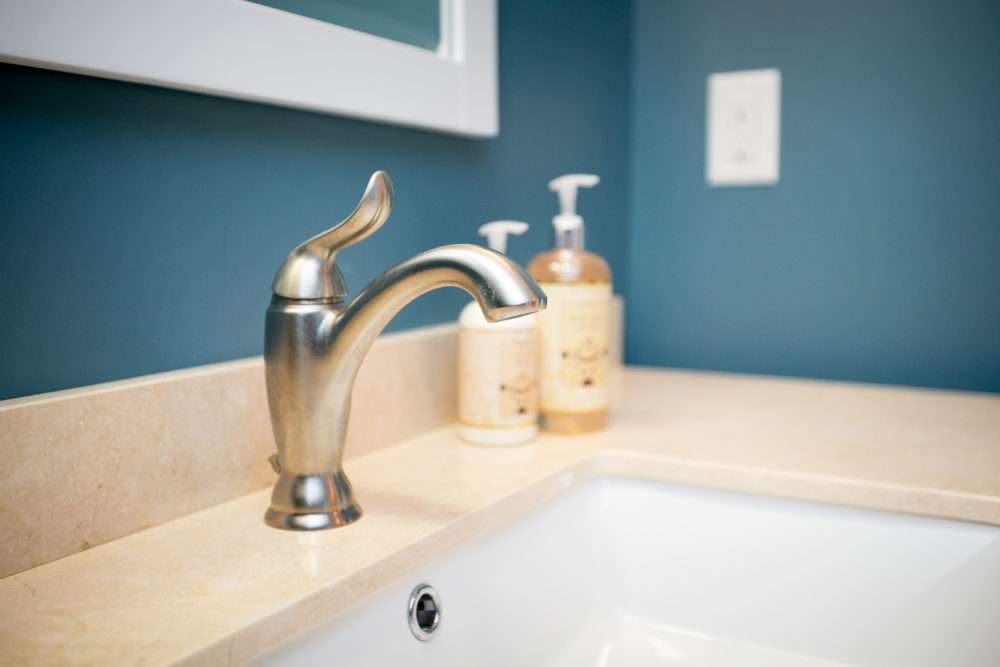
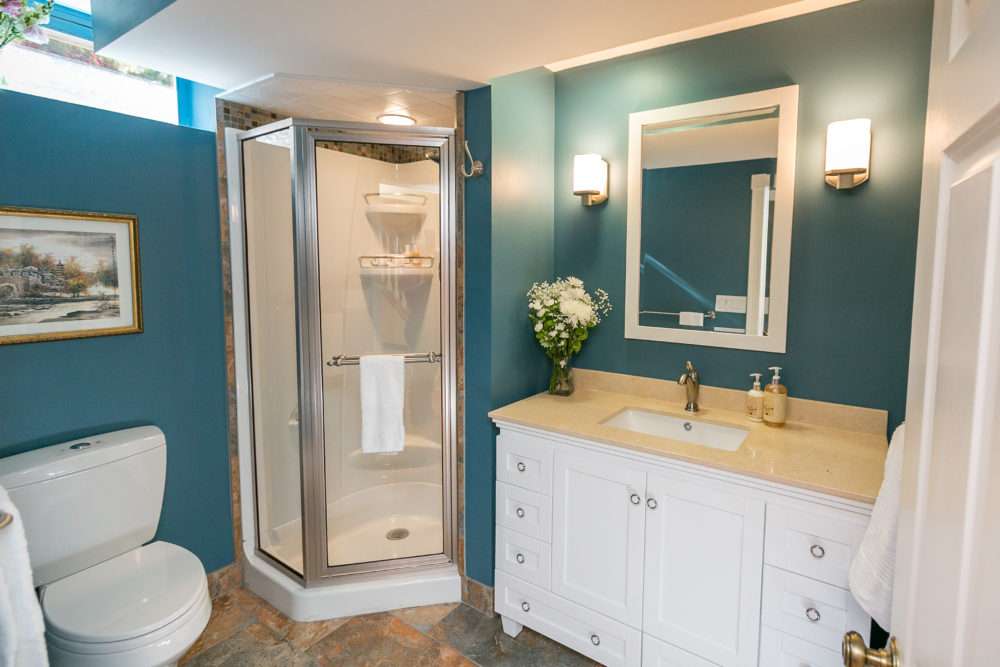
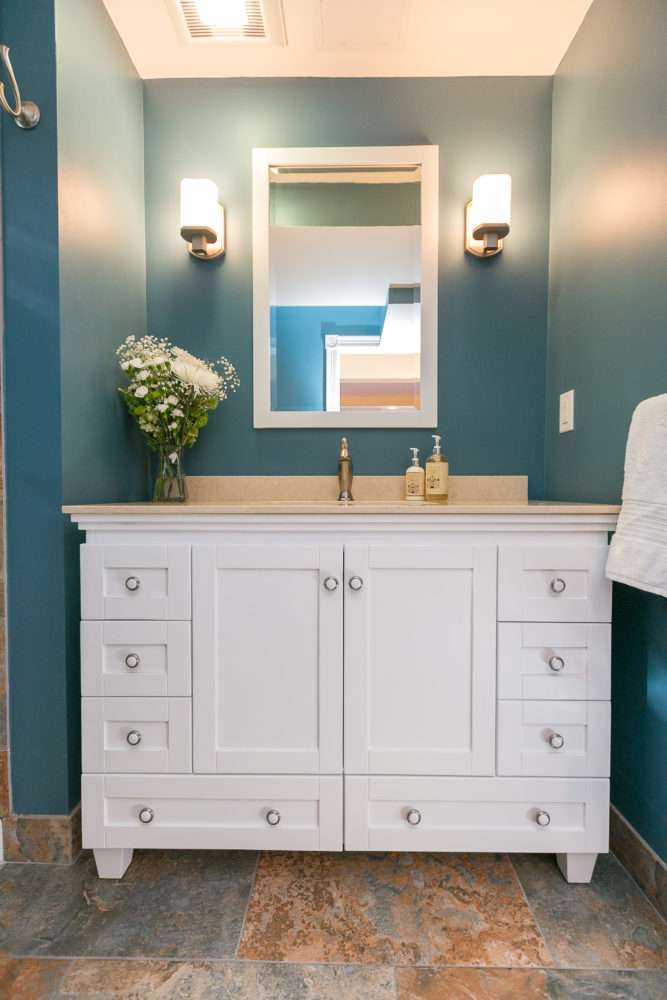
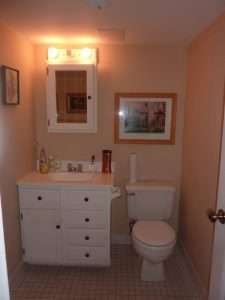
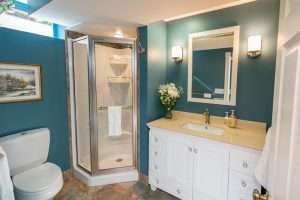
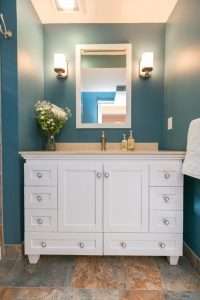
Making sure that what was visible from the family room was attractive was very important when the door remained open. Originally, the toilet was in the sight line and so we changed that to the new larger 48” vanity.
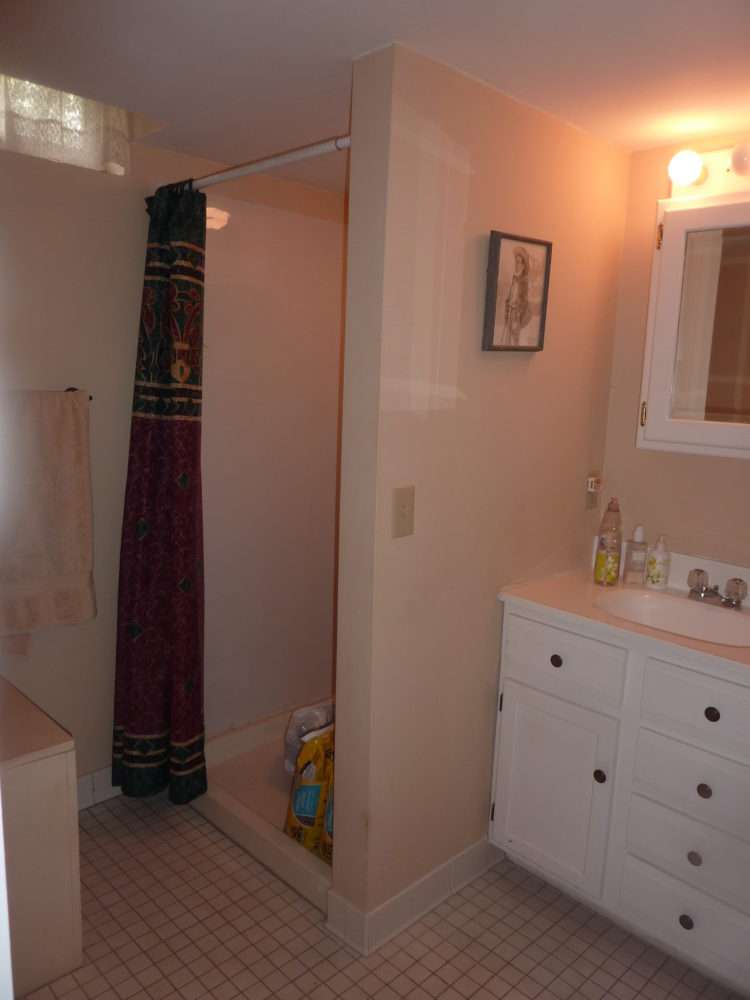
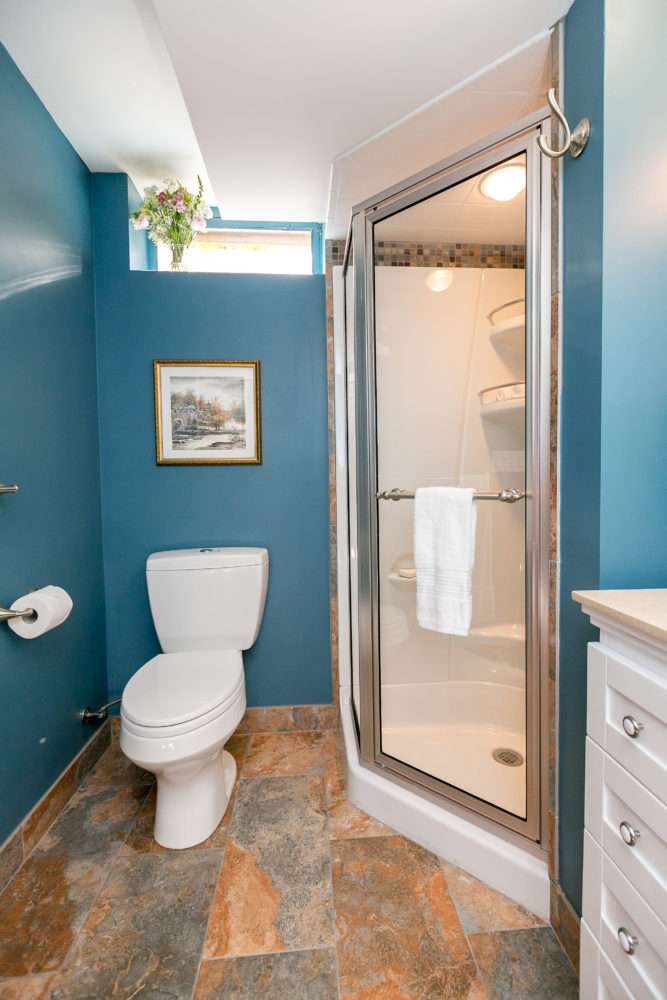
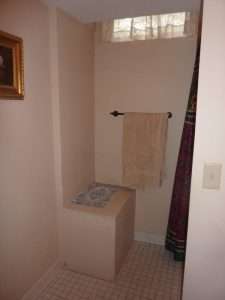
In the interior corner of the former bathroom under the window and in front of the shower, there sat an unused sump pump in the floor with a plywood box seat covering it. By removing this useless pump, we were able to make this the new location for the Toto toilet so that it hid from view.
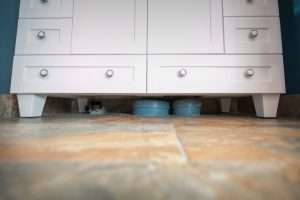
Under the vanity, there were several backwater and gate plumbing valves, coming out of the ground above the tile floor. These not only required replacement by code (being below street level), but also had to remain accessible for any future plumbing. This caused custom carpentry to modify the owner’s pre-fabricated vanity, making the cabinet bottom removable but also keeping the bottom drawers usable.
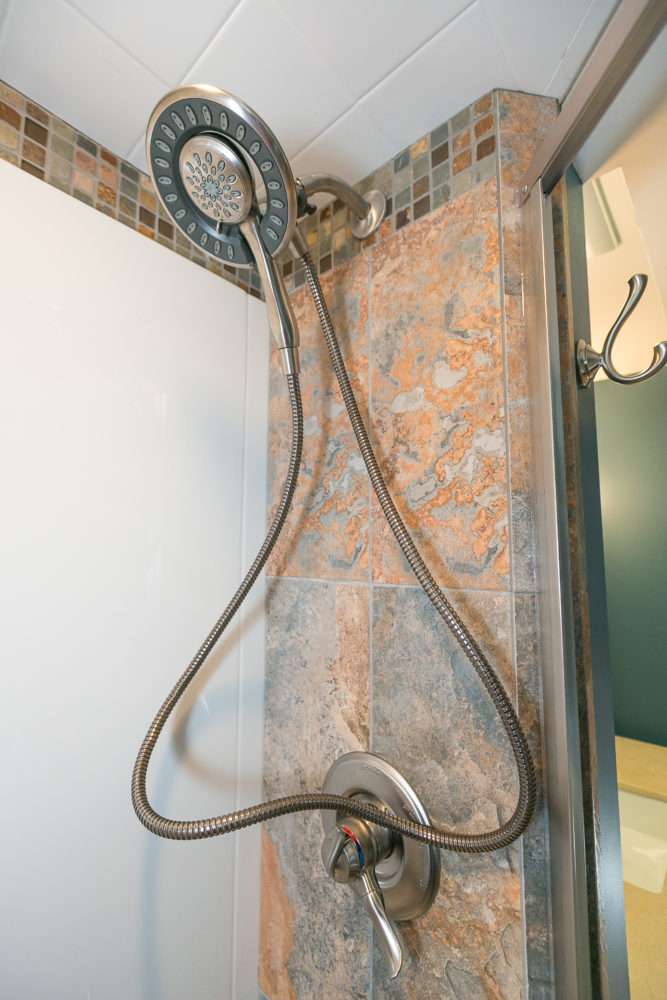
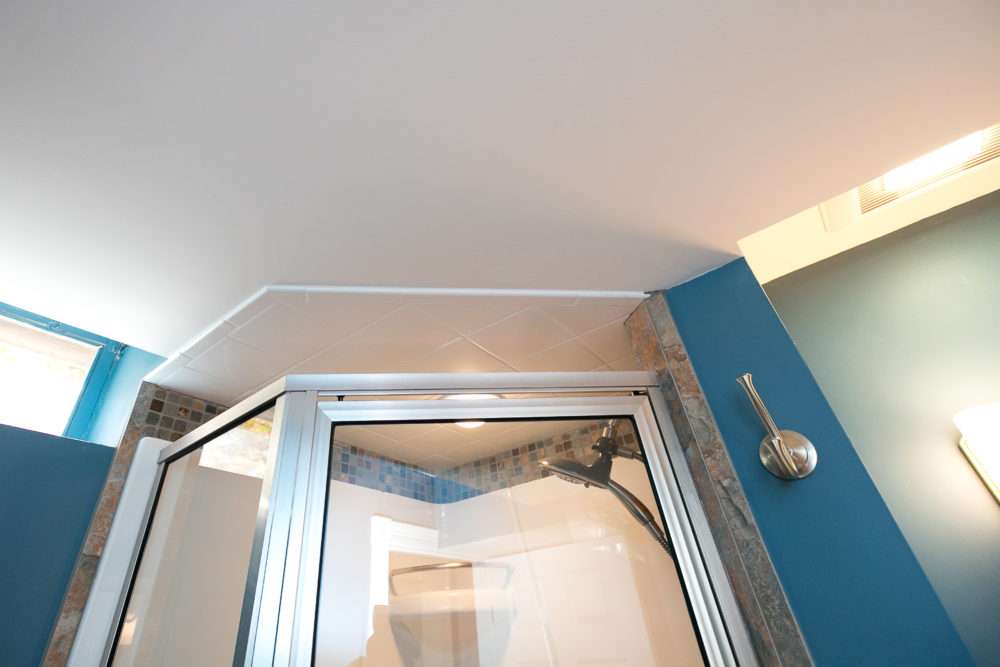
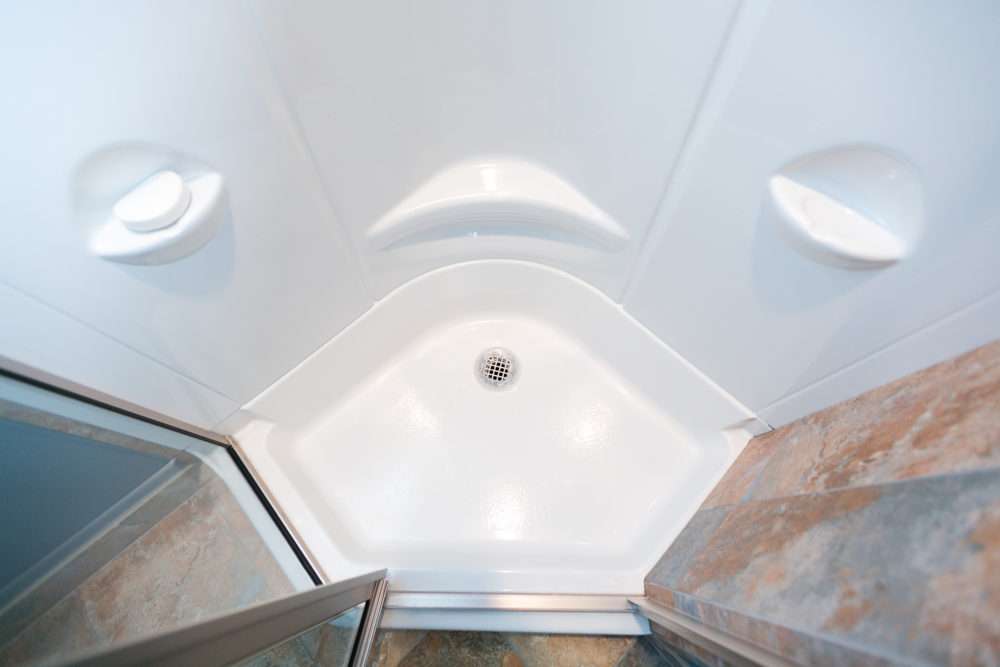
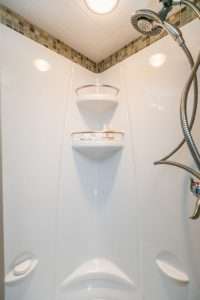
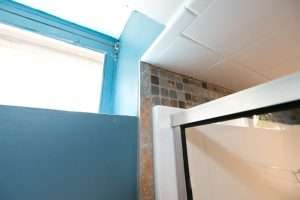
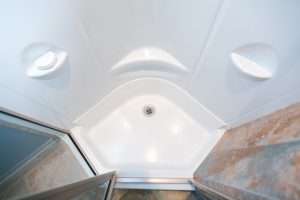
The two exterior corner walls at the shower were foundation block and we could not build these out & insulate for the new plumbing controls or we would lose valuable space inside the already small room. The former wall separating the old corner shower from the vanity needed to remain, BUT we cut it back a lot to allow just enough room for the Delta In2Ition plumbing showerhead & controls, while allowing the largest opening for the shower door on the neo-angle. Note the lower ceiling over the shower received tile that mirrored the neo-angle frame below perfectly.
Challenges & Solutions :
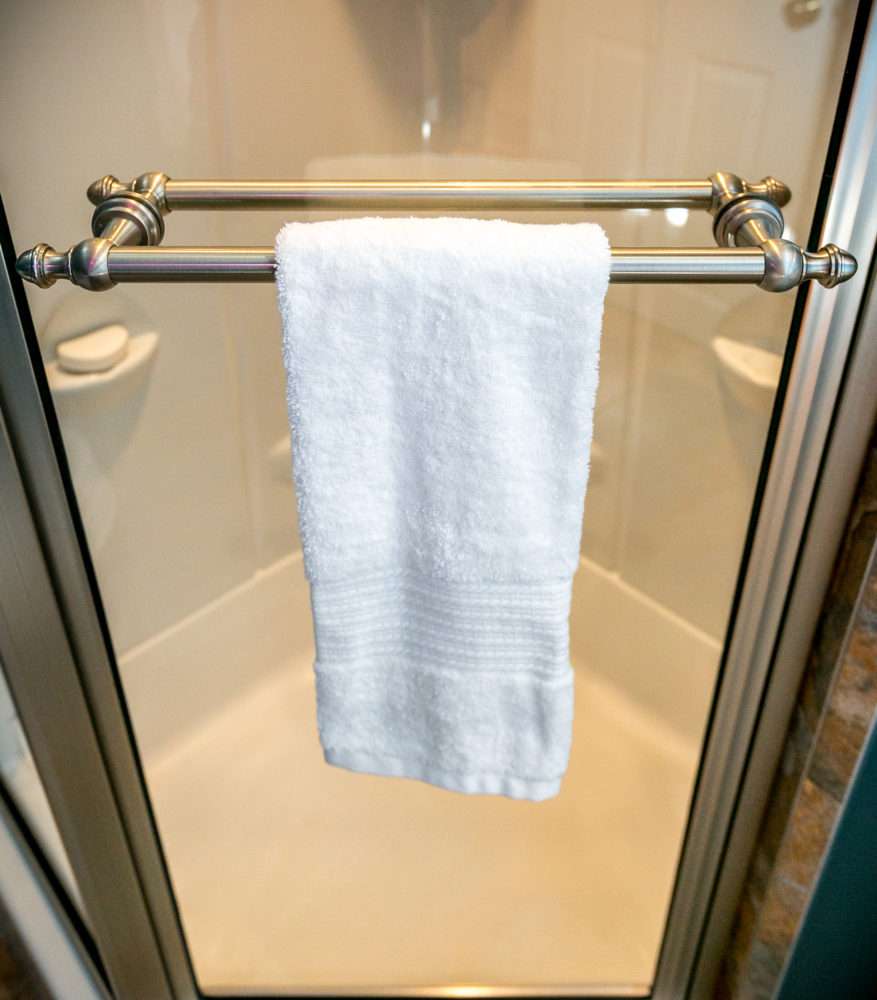
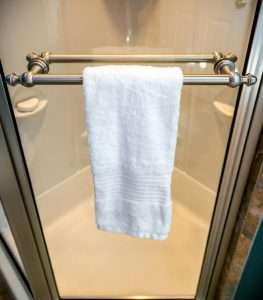
At this location, there had to be careful framing to create perfect angles for the back-mitered tile corners and new shower frame (with back-to-back Towel bars). Building a wall on top of/and as part of a neo-angle Maax Freestyle 2 Piece shower base & surround has not been done before to our knowledge, and so integrating the existing surfaces with the proposed durock backing & tile finish, while making sure the finishes ended up flush with each-other, was a tightly calculated risk we pulled off!
HVAC, Electrical, & Plumbing took careful planning & execution between the trades because this basement ceiling & walls were already full of ductwork, wiring & pipes that served the three floors above. This explained why the old bathroom ceiling was so low and felt claustrophobic. Our carpenters built several soffits to maximize the ceiling height wherever possible.
The old supply air was in the ceiling right above your head at the vanity, which was very uncomfortable when the air was blowing. We relocated this down the sidewall to a more agreeable location.
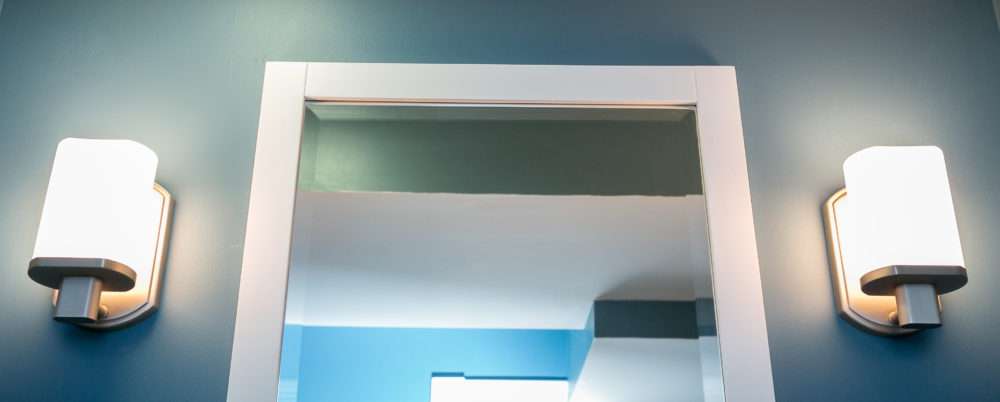
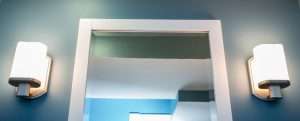
Being in the basement, we needed to capture as much natural & artificial light as possible to brighten the bathroom. The existing awning window did not change, but we did reframe, raise & angle the ceiling soffit so more light filtered in and new lights in the bath fan, shower & opal etched sconces helped too!
Applying current design best practices and respecting mechanical, structural, safety code and energy efficient building practices, we provided our client with functional and attractive space and additional amenities by today’s standards –while respecting the original architectural details.